My Webflow Development Process, Step by Step

Published
July 28, 2026
My Webflow Development Process: A Step-by-Step Guide
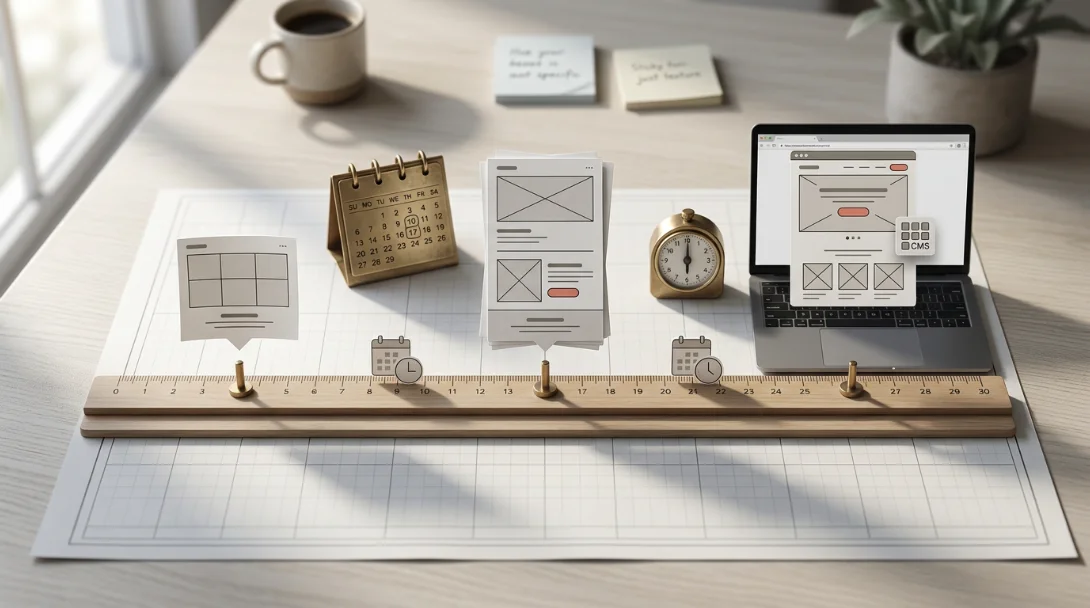
If you're curious how I handle Webflow development projects from start to finish, here's my exact process. It's the system that keeps every build clean, fast, and easy to hand over.
Step 1: Initial project setup
When a development request comes in, I review the design in detail — functionality, animations, integrations. Then I duplicate the Finsweet Client-First style guide, match it to the Figma design, install fonts, upload the favicon, compress and upload all images, and create the page structure.
Step 2: Tackle the hard parts first
Before building any page, I handle third-party integrations and custom code — slider elements with SplideJS or SwiperJS, advanced animations with GSAP. Doing the difficult work upfront means no nasty surprises later.
Step 3: Create global components
I build the navigation, footer, and repeatable CTA elements as global components. This saves time and keeps everything consistent across the site.
Step 4: Build pages with BEM methodology
I build each page using the BEM method for a clear, maintainable structure — within a section_hero, for example, I use elements like global_padding, container_medium, and section__wrapper, with modifiers as needed so I never disturb the main section or container.
Step 5: Ensure full responsiveness
Using Finsweet's fluid development approach in the global CSS, I make sure the site looks great on every device and browser.
Step 6: Optimise for SEO
SEO is built in, not bolted on. Every page gets an optimised title tag, meta description, OpenGraph image, image alt text, and aria-labels on links that need them.
Step 7: Add animations
I layer in animation to make the site feel alive — always mindful that motion should never hurt load speed.
Step 8: Thorough testing
I test on real devices, not just browser previews — checking each section on phones and desktops and fixing issues in the Webflow Designer immediately.
Step 9: Transfer and setup
After testing, I transfer the project to the client (keeping a backup), connect the DNS, verify the sitemap in Google Search Console, add schema markup, and set up Google Analytics — then test everything again.
Step 10: Client handover
Finally, I record a Loom walking through how to manage the site in Webflow. Once you're confident, we push live and celebrate.
That's my Webflow development process — built for quality at every step. If you need a site built this way, get in touch.